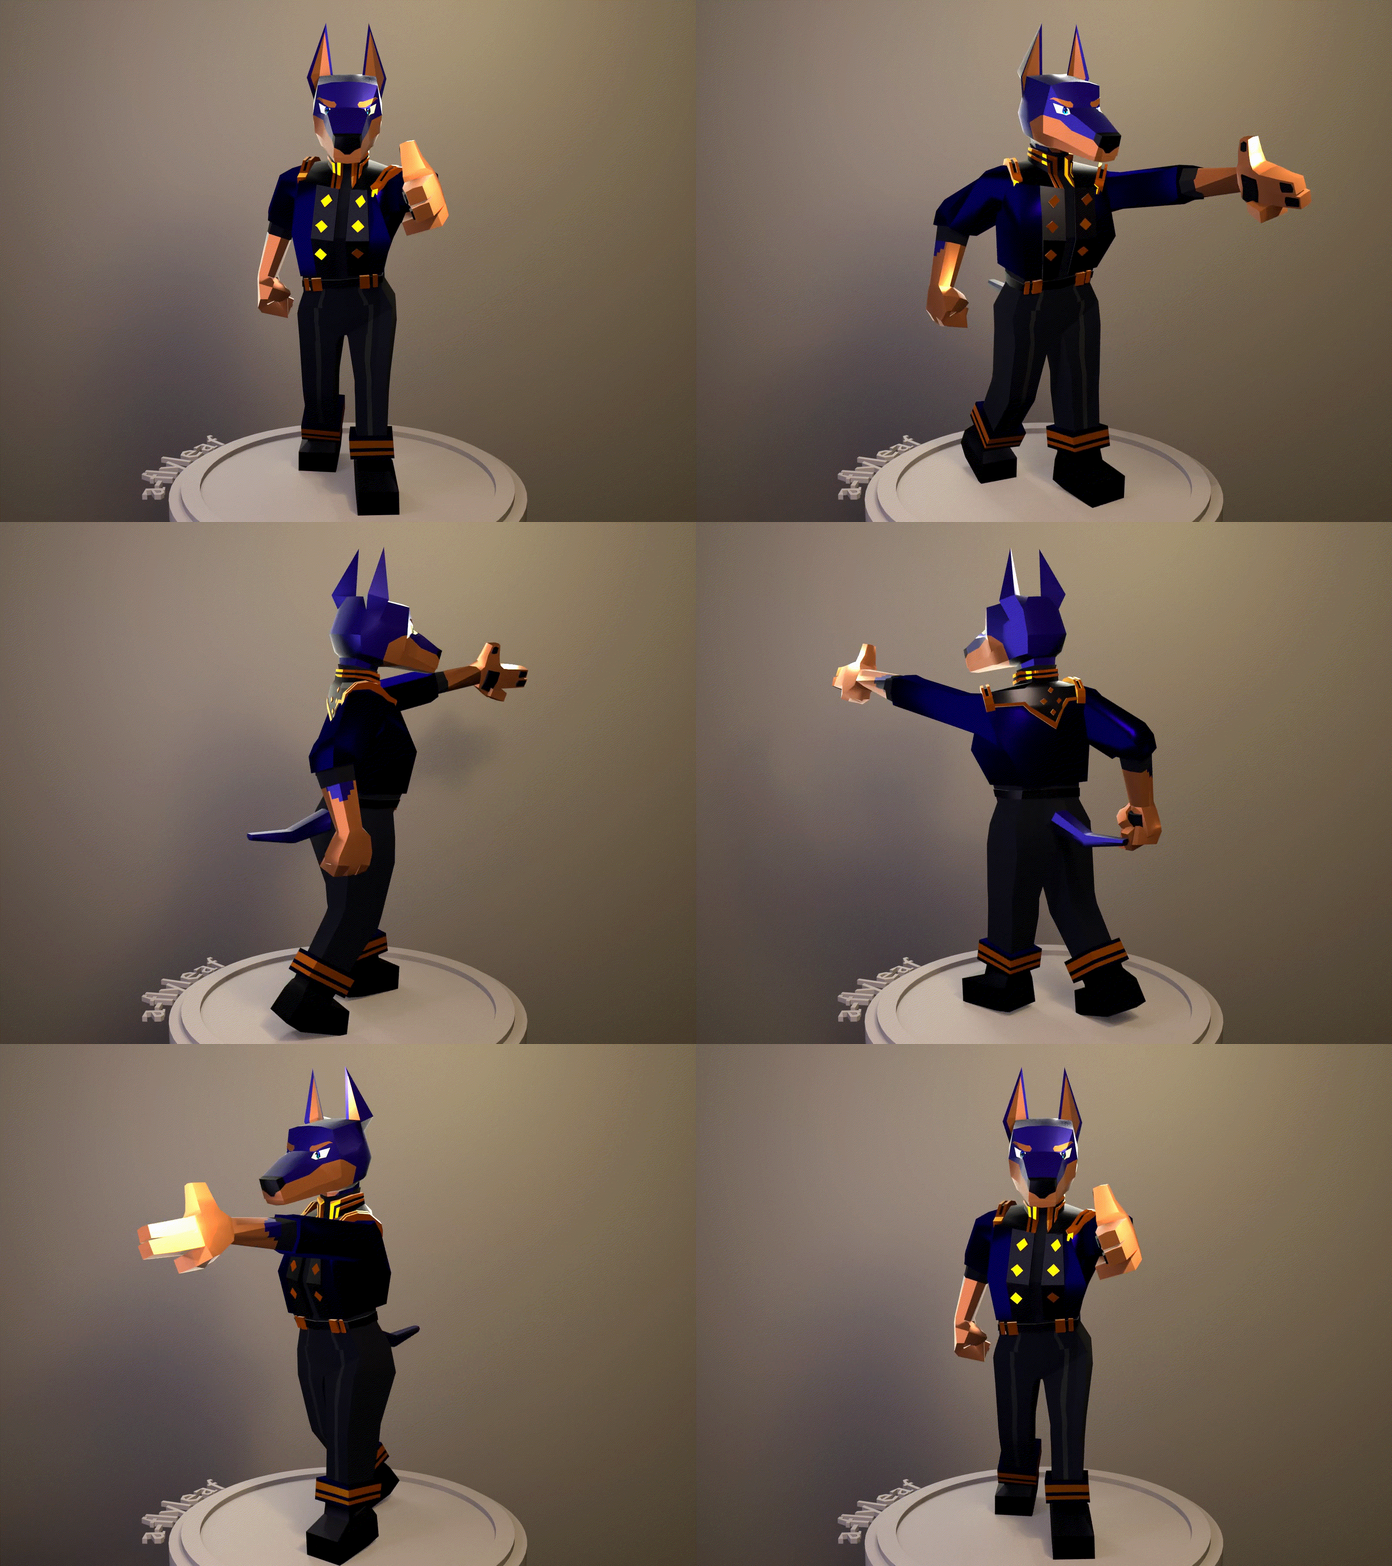
> be me
> design & model a random character on a whim
> block everything out wicked fast
> set it aside for a while because the design looks off
> still want to futz with 3D in the interim
> “hey the hands were easy this time. what if I give that dog more than 2 pointers and a thumb”
> proceed to spend Many More Hours touching up basically everything everywhere
A much-needed glow-up, if I do say so myself!
patch notes & resources used
- Small boatload of “backend“/invisible updates:
- cleared leftover keyframes, because I do everything in One Gigantic Megafile. idk how people properly manage/separate assets yet
- various outfit & masking toggles
- lots of vertex cleanup & tweakage (unused groups & odd weights)
- unwieldy base texture at least now has a node frame
- made offshoot/solid textures for most objects & part of the base
- unfucked the mouth fusion, which is a thing that happened, somehow, somewhere along the line??
- also unfucked various bones, independent of weight paints
- things I watched, ended up not using, but still think are useful:
- YouTube: Hard Surface Modeling Tips + 6 Hard-Surface Modeling Tricks
- YT: How to Bake Normal Maps
- YT: Baking Normals
- YT: Normal Maps (no baking in this one!)
- StackExchange: rigging buttons
- YT: Boolean Modifier
- on making the rig more usable:
- YouTube: Fixing Rigify’s broken fingers
- StackOverflow: linking constraints (only worked for me with
basic.raw_copybones) - StackExchange: pinning custom properties (or any other panel!)
- Eyes got redone again lol. I don’t have to re-draw them every time I want to change the expression now!! Three layers: a boolean cutout object, interior sclera, and iris objects shrinkwrapped to the sclera. It still clips around the inner corner, but that can be either drawn over or, as used above, fudged with shapekeys.
- Modeled a bunch of details that were previously flat or nonexistent: the diamond not-buttons, shoulder things, collar trim, black segments & back details on the top, a proper belt, and of course the third not-thumb finger (and paw pads!). The outfit’s still vastly simplified from the original character design, but I like this much better!
- The pixel art on the previous versions were more a byproduct of the tutorial I was following than an intentional design choice. Some pixelization lingers, but having the most prominent details modeled out nice and Smoothe™ is much, much closer to the original vision.
- also I don’t like UVs and the wrangling thereof :V Feels like doing everything twice for, at least in this style, negligible benefit.
- Muzzle is also more dynamic, with fully vector-based markings and an upper lip that can stretch and snarl. Nice.
- The marking-smoothness was inspired by Noggi’s dissections of the Guilty Gear style; I don’t remember in which of the two videos it was covered, but the game gets extremely crisp color edges by simply drawing 3D edges in the same places. On a flat surface I think you’d normally accomplish that with a highres texture. But, again, I don’t like UV-wrangling!! We can break the edge flow a little. As a treat.
- Shoes did not get re-modeled but they’re shiny now.
- YT: Three-Point Lighting Setup, used for the turnaround above. All HDRIs are Blender defaults.
- Also referenced this 10-second short on light linking because I missed the
CTRL+Lstep this round.
- Also referenced this 10-second short on light linking because I missed the
Fortunately for this page’s length, it’s tricky for me to show off the process chronologically. Most of it was making things more usable for myself, with no visible change! Also, I just hopped around from piece to piece instead of finishing an entire section in one go.
Here is the one (1) process screenshot that exists.
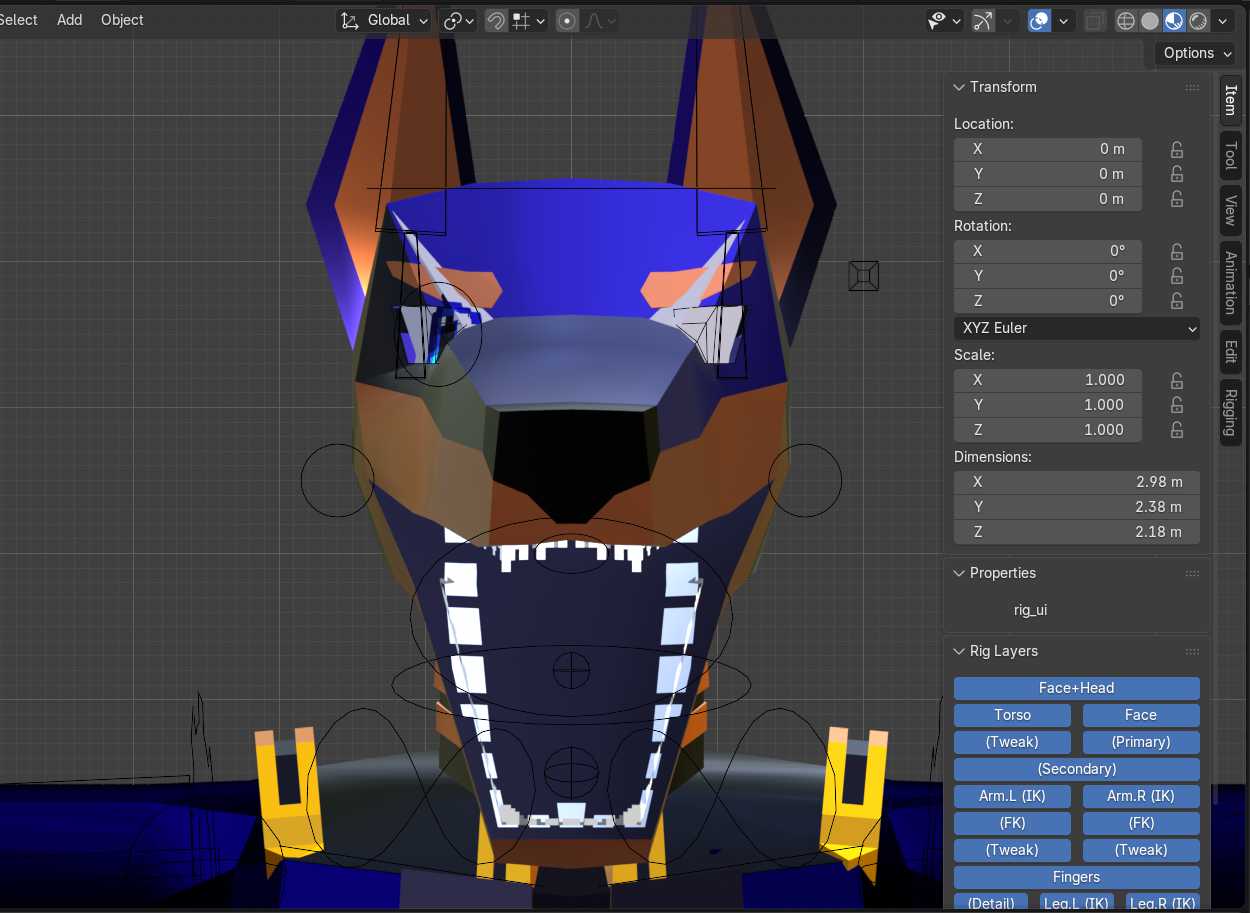
Along the way, it occurred to me that I should probably show off the ~shiny new expressive capabilities~ somehow. The turnaround pictured above actually came last; the renders below happened first.
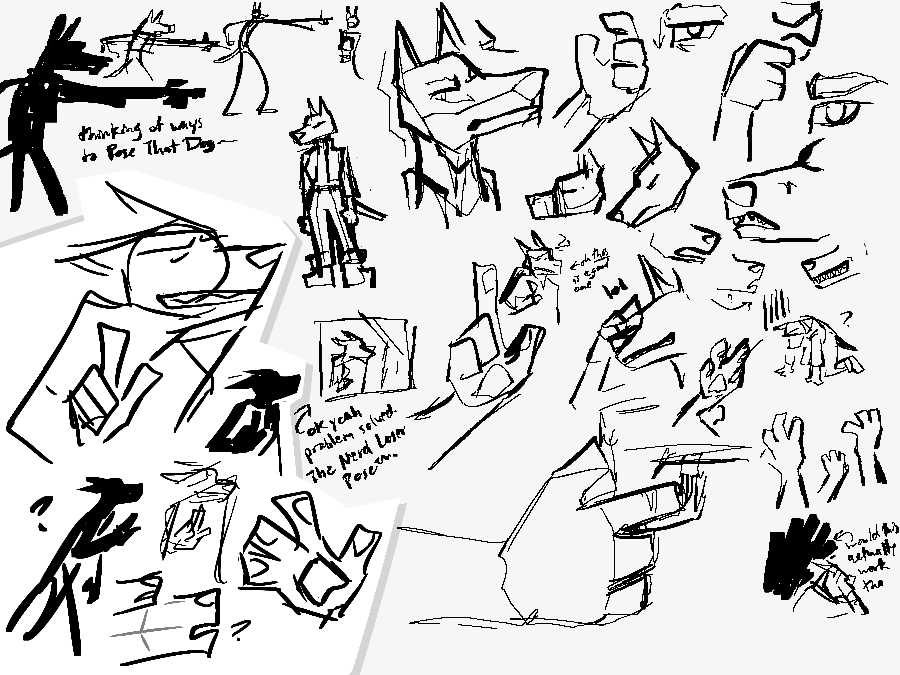
All these poses are riffing on actual character scenes. When in doubt: Uhm, Ackshyewally,,,
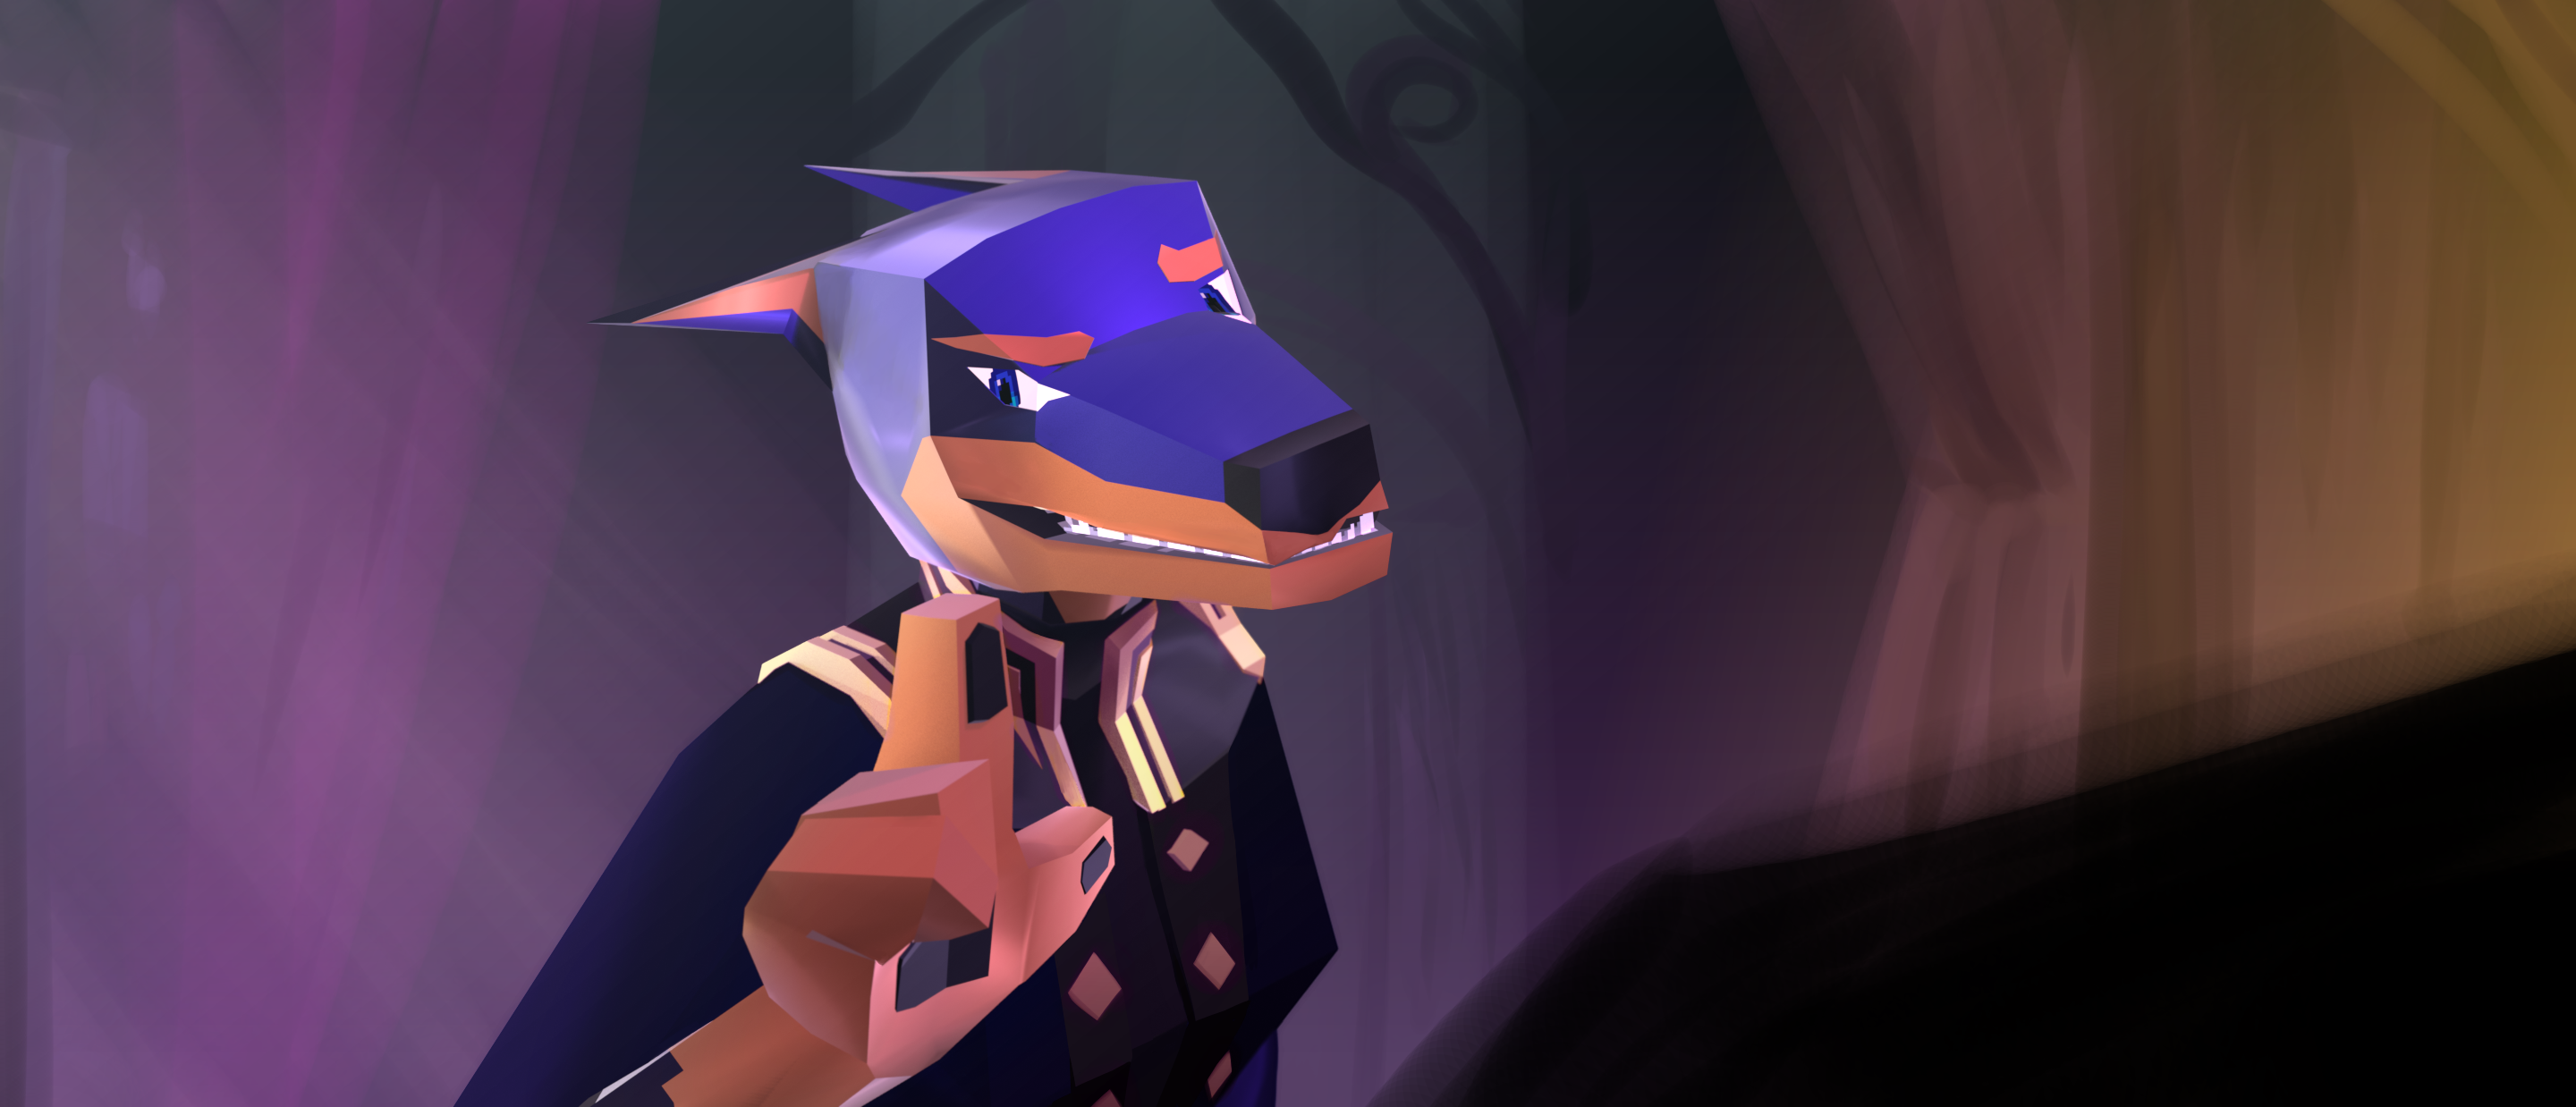
“oh blender would be really good for solving perspective and doing backgrounds” mfers when they realize they still have to Make the background. hypothetically. or they can just render a transparent PNG and throw color around it in 2D 👍
There was some mad clipping in some places that I also took the liberty of drawing over. If you can’t tell where, job done!
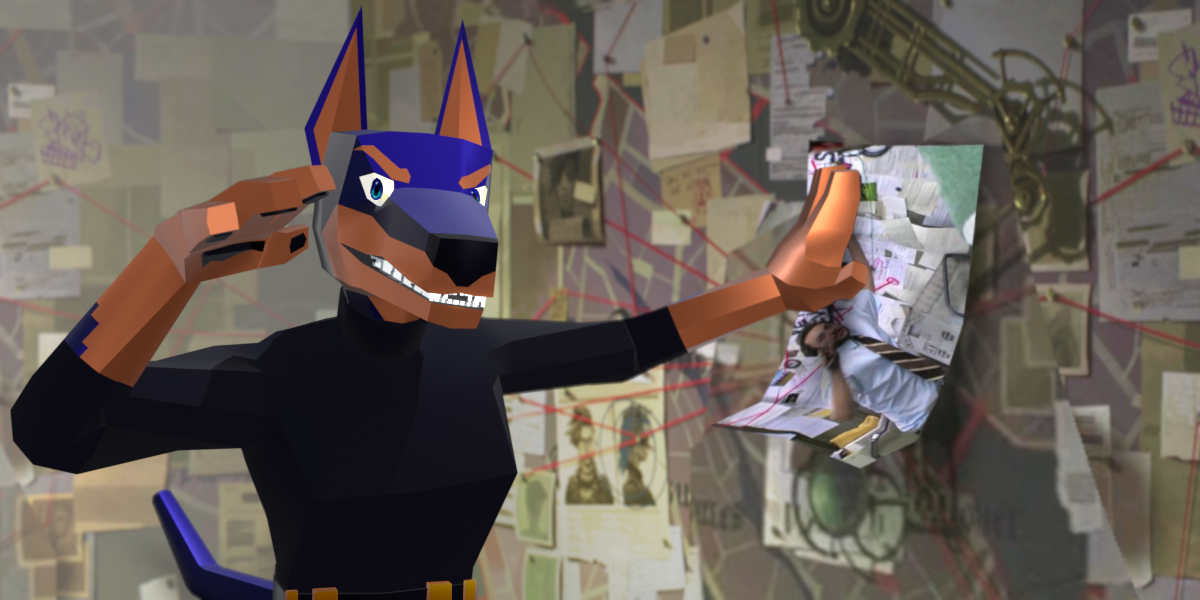
i have been meaning to draw this meme with this fucking character since watching the show and then it finally happens with a 3D dog. what the hell, sure.
Background photobashed from screenshots via cap-that. There’s also a piece from my own photo an artbook page, but it’s near-entirely covered in the final render here.
Anyway, some notes on the final turnaround:
- There was a shitton of clipping by default and I went ham fixing it with shape keys. Absolutely not practical for anything in motion (the iris fixes were practically animated frame-by-frame), but workable enough for a static pose!
- Made the signature angular by slapping a decimate modifier on it. The platform is mostly-circular, meanwhile, because pronounced angles were distracting & semi-rounded made a weird optical illusion where it seemed to be spinning backwards.
- Signature is deliberately offset from the platform, because it looked odd in perspective.
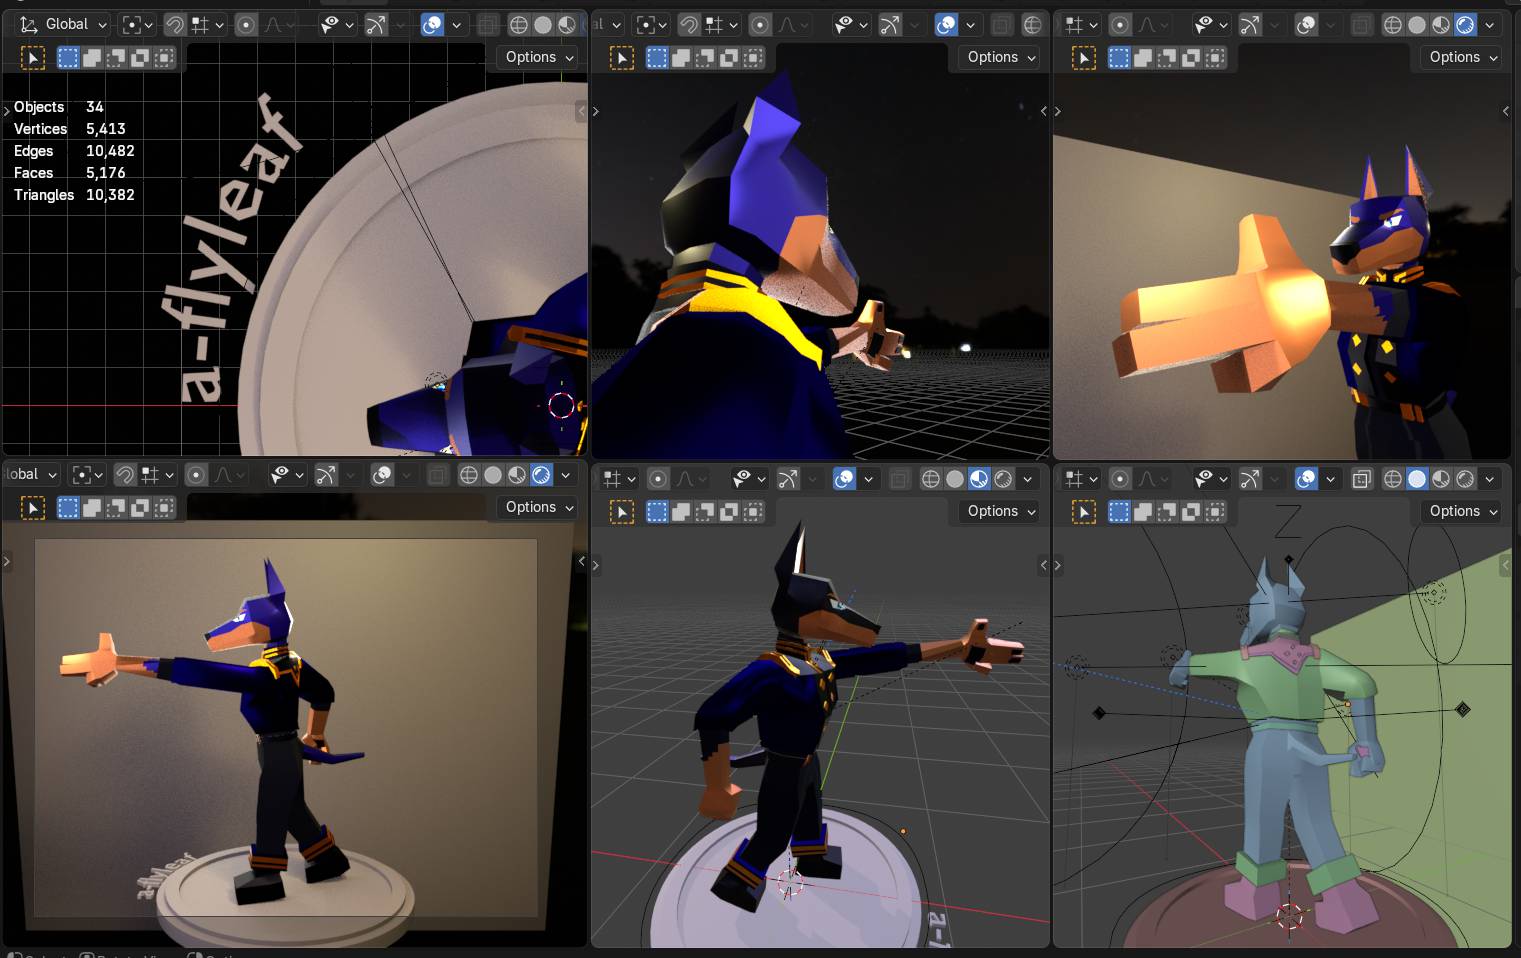
In lieu of process shots, here’s a bunch of angles in one go. Uses the “Night” HDRI, which I am only now learning is apparently a golf course??
Also, while I was waiting for the turnaround to render, I dug up some references to link here for the pose. Here it is as two shiny gifs and a static image.
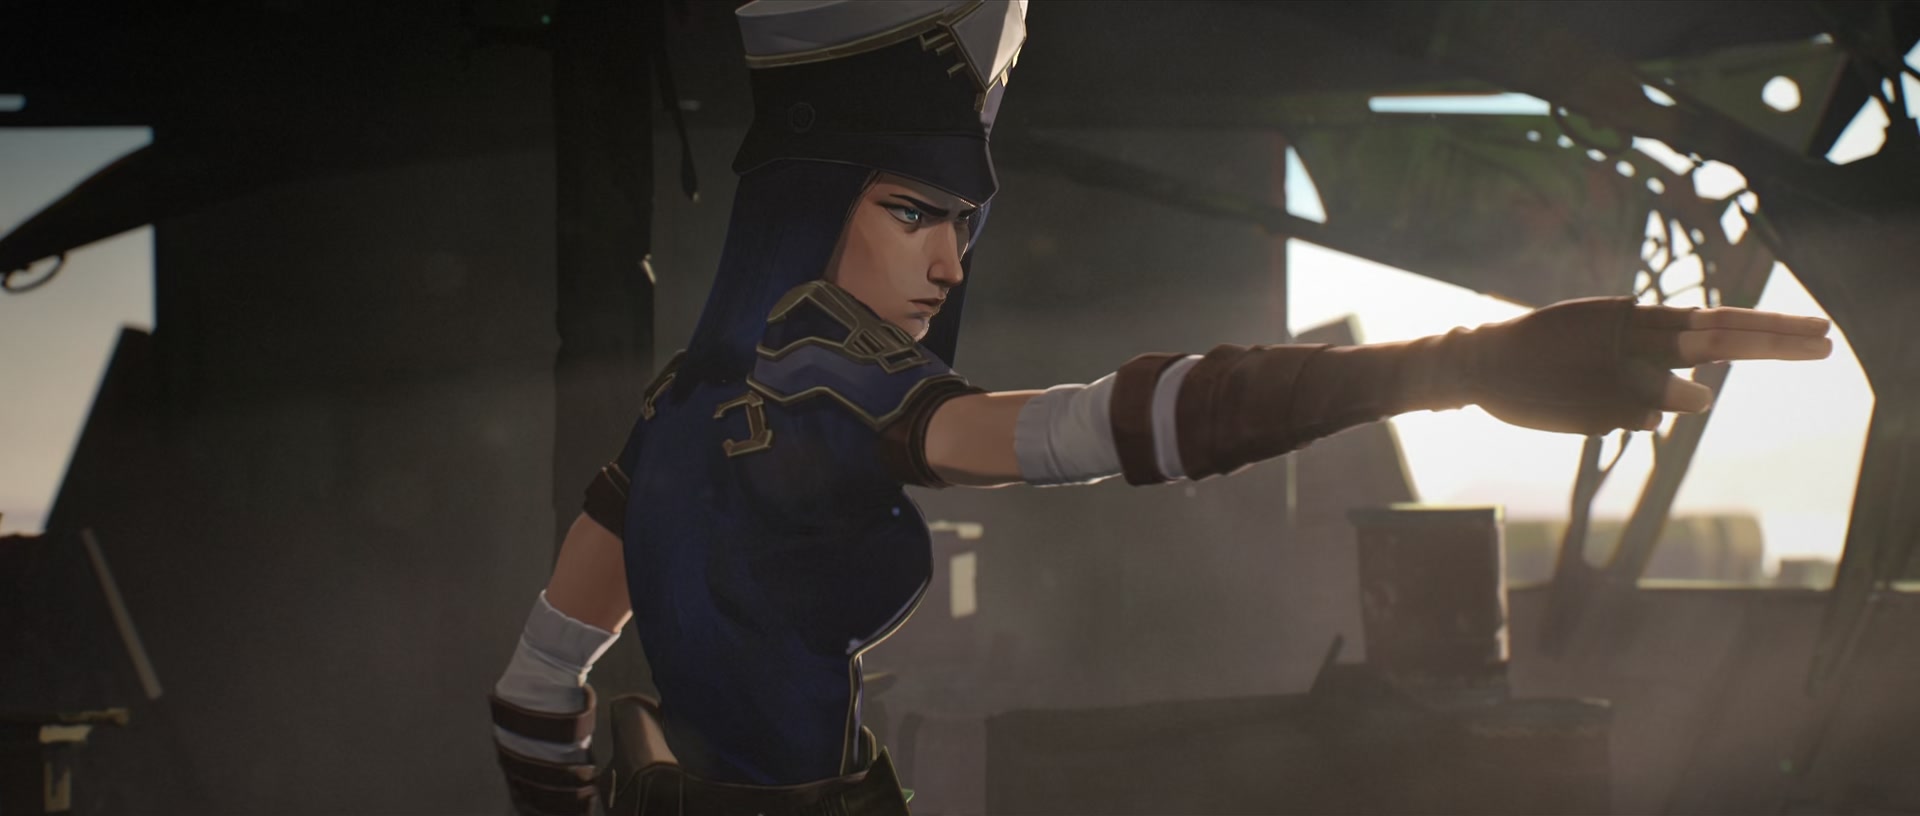
I realized, while staring at this. whilst my loyal old computer chugged along rendering. that I pointed the wrong fucking hand oh well!!!!11!1! Calling it a day on this particular pose. Will I revisit the model a third time? No plans to. But we’ll see…!